
Before Bathroom Tiling: How to Check Concealed CPVC Pipes for Leaks
Bathroom plumbing is much easier to inspect while the pipes and joints are still exposed. Once wall tiles, floor finishes or plaster cover the plumbing, a small leak can become difficult and expensive to investigate.
If you are renovating a bathroom in Mysore (Mysuru), installing new CPVC lines or replacing concealed plumbing, plan an appropriate inspection and pressure test before closing the wall or floor. The aim is to identify installation problems while the pipework is accessible—not after the bathroom has been finished.
This guide explains what homeowners, plumbers and renovation contractors should check, what a pressure test can tell you, what it cannot prove by itself, and what to document before tiling begins.
Quick Answer: What Should You Do Before Concealing CPVC Pipes?
- Confirm the pipe and fittings are the correct products for the plumbing system and installation.
- Visually inspect exposed pipework, joints, supports, routing and accessible connections.
- Allow solvent-cemented joints to cure for the time specified by the relevant manufacturers and system instructions.
- Have the appropriate water-based pressure test performed using the system's approved test procedure and project requirements.
- Inspect the pipework during and after testing, record the observations and investigate any suspected leakage.
- Do not cover the pipework until the required checks are completed, defects are corrected and the responsible plumber or project supervisor approves the work.
Important: CPVC systems are not all identical. The correct test pressure, duration, curing time, equipment and acceptance criteria depend on the pipe system, manufacturer instructions, design and applicable requirements. Do not copy a pressure value from an unrelated pipe system or online example.
Why Should Concealed CPVC Pipes Be Checked Before Tiling?
CPVC plumbing is often routed inside bathroom walls, service chases or floor areas. After the pipework is covered, a leaking joint may cause dampness, staining, damage to finishes or water reaching an adjacent room or lower floor.
Checking the installation before concealment offers several practical benefits:
- Access to joints: Connections can be visually examined while they remain exposed.
- Earlier fault correction: A suspected leak can be investigated before tiles, plaster or waterproofing finishes make access difficult.
- Better handover records: The homeowner and contractor can retain a record of the inspection and test observations.
- Reduced avoidable rework: Finding a problem before finishing may prevent unnecessary removal of completed surfaces.
- Clear responsibility: The plumbing installer and finishing contractor can agree on the condition of the pipework before the next stage begins.
A pressure test is one part of quality control. It should be combined with correct installation, visual examination and the manufacturer's requirements.
What Should Be Checked Before Pressure Testing?
Start with a careful visual inspection while the CPVC pipework is accessible. A test should not be treated as a substitute for checking whether the system was assembled correctly.
1. Pipe and fitting compatibility
Confirm that the installed pipe, fittings, solvent cement and other components are approved for the intended CPVC system and service conditions. Check product markings and the manufacturer's installation instructions.
2. Joint preparation and assembly
Look for visible signs of damage, misalignment or poorly assembled joints. CPVC solvent-cementing requires appropriate pipe preparation, compatible cement, correct assembly and sufficient curing time. Follow the specific system instructions rather than relying on a generic installation shortcut.
3. Pipe routing and physical condition
Check for cracks, cuts, kinks, excessive bending, unintended stress or contact with unsuitable materials. Confirm that the pipe is supported and arranged according to the system's installation guidance.
4. Accessible connections and outlets
Inspect accessible elbows, tees, valves, adapters and fixture connections. Confirm that the intended test section can be isolated safely and that temporary caps or test fittings are suitable for the planned test.
5. The intended test section
Identify exactly which pipes, branches and connections are included in the test. Make sure the test arrangement is understood by the plumber and the person responsible for accepting the work.
Manufacturer guidance emphasizes correct pipe preparation, solvent-cement joint assembly and curing before testing. Refer to the instructions for the actual CPVC product installed, such as the FlowGuard Plus CPVC installation guidance or the applicable product manufacturer's instructions.
How Is a CPVC Pipe Pressure Test Carried Out?
A qualified plumber or suitably competent person should follow the procedure specified for the installed system and the project. The outline below explains the general stages; it is not a substitute for the actual test instructions.
Step 1: Confirm the system is ready
Check that installation work is complete for the test section and that solvent-cemented joints have had the required curing time. Cure time can depend on the product, pipe size, temperature, humidity and the test conditions.
Step 2: Define and isolate the test section
Identify the pipe section to be tested and isolate it using appropriate fittings and equipment. Confirm that connected fixtures or components are not exposed to a test condition they are not designed to withstand.
Step 3: Fill and prepare the system as instructed
For a hydrostatic test, the system is filled with water and prepared according to the manufacturer's procedure. The test arrangement, air removal, gauge location and other preparation steps must follow the applicable instructions.
Step 4: Apply the specified test condition
Use appropriate test equipment to bring the test section to the specified pressure. Do not exceed the limits of the pipe, fittings, valves, test equipment or other components.
Step 5: Observe and record
Record the initial test condition, the specified observation period, relevant gauge readings and any visible leakage or other abnormal behaviour. Inspect accessible joints and connections during the procedure.
Step 6: Investigate any abnormal result
If leakage or an unexplained pressure change is observed, stop and investigate according to the test procedure. Correct the identified fault and repeat the required checks before the pipework is accepted.
Safety: Do not improvise a high-pressure test or use compressed air or gas as a substitute for a required hydrostatic test. Pressurised systems can release energy dangerously if a pipe, fitting or temporary closure fails. Testing should be performed by a competent person using the appropriate procedure and precautions.
Which Pressure and Test Duration Should Be Used for CPVC?
There is no single test pressure or duration that should be presented as universal for every CPVC plumbing installation. The correct values must be determined from the specific pipe and fitting system instructions, design conditions and applicable project or regulatory requirements.
Before testing, the responsible plumber or project supervisor should confirm:
- The CPVC pipe and fitting manufacturer's approved testing procedure.
- The design operating pressure and the permitted test pressure for the installed system.
- The required curing time for the solvent-cemented joints under the actual conditions.
- The required test duration and acceptance criteria.
- Which components must be isolated or protected during the test.
- The appropriate gauge, test equipment and safety measures.
Do not automatically use a pressure or duration recommended for another brand, pipe size, application or type of piping. A test value used for a CPVC fire-sprinkler system, for example, should not be assumed to apply to domestic bathroom plumbing.
For product-specific requirements, consult the installation documentation supplied with the installed pipe and fittings. The FlowGuard pipe and fittings installation guide explains why installation, joint preparation and curing requirements need to be considered before testing.
What Does a Successful Pressure Test Prove—and What Does It Not Prove?
A properly conducted test provides evidence about the tested pipe section under the specified test conditions. It is an important quality check, but it should not be treated as proof of every aspect of installation quality.
| A pressure test can help assess | A pressure test alone cannot establish |
|---|---|
| Whether the tested section shows leakage or abnormal behaviour under the test conditions. | That every joint was prepared and solvent-cemented correctly. |
| Whether a suspected defect requires investigation before concealment. | The exact location of a leak solely from a pressure change. |
| Whether the system meets the acceptance criteria specified for that test. | That the system will never leak under every future operating condition. |
| Whether the tested section can proceed to the next project stage, subject to required approvals. | That untested branches, fittings or components are free of defects. |
Pressure readings can be affected by factors such as temperature changes, test equipment, trapped air, test arrangement and the behaviour of the system. The result should be interpreted using the required procedure and acceptance criteria—not by guessing from a single gauge reading.
Visual inspection remains important. Manufacturer guidance warns that an interference-fit connection may not, by itself, demonstrate that a solvent-cemented joint was correctly made. A passing test should therefore be considered alongside installation checks and records, not as a replacement for them.
What Should You Do If the CPVC Pressure Test Fails?
If the test does not meet the specified acceptance criteria, do not cover the pipework and hope the problem disappears. The cause should be investigated before finishing work continues.
- Stop and make the system safe. Follow the test procedure for depressurising and handling the equipment.
- Review the test setup. Check whether the test section, isolation points, gauge, temporary caps and other equipment were arranged correctly.
- Inspect accessible joints. Look for visible leakage, damage, movement or other signs that may help identify the affected area.
- Have the fault assessed. The plumber should determine whether the issue is in the permanent pipework, a connection or the test arrangement.
- Repair using the approved method. Replace or remake defective sections in accordance with the product manufacturer's instructions.
- Allow the required curing time and retest. Follow the specified procedure and record the result.
- Obtain approval before concealment. Keep the pipework accessible until the required checks and repairs are complete.
A pressure drop or failed test does not automatically reveal the exact leak location. It indicates that the result needs to be investigated. The appropriate next step depends on the system, test arrangement and visible evidence.
What Should You Document Before Closing the Wall or Floor?
Good records make the handover clearer for the homeowner, plumber and renovation contractor. Keep the information relevant to the actual work and test performed.
| Record | What to include |
|---|---|
| Project details | Property, bathroom or test-section identification, inspection date and responsible persons. |
| Pipe system | Pipe and fitting brand or type, sizes and any relevant product information available. |
| Visual inspection | Areas inspected, visible observations, installation concerns and any corrective work. |
| Test procedure | Reference to the applicable manufacturer's instructions or project specification. |
| Test observations | Test section, specified test conditions, observation period, readings and visible findings. |
| Defects and repairs | Any suspected fault, repair performed and required retest or follow-up. |
| Photographs | Clear photos of pipe routing, accessible joints and the completed exposed installation before concealment. |
| Handover | Who reviewed the findings and whether the work was approved for the next construction stage. |
Photographs of the pipe routes can also help future maintenance. Take them before tiling, and retain copies with the renovation documents.
When Should You Book a Professional Plumbing or Leakage Inspection?
Consider a specialist inspection if you are unsure whether the concealed pipework has been properly checked, if the test result is unclear, or if leakage has already appeared after installation.
Before tiling
Ask the plumbing contractor whether the installed CPVC system has been visually inspected and tested according to its approved instructions. If you need independent assessment, confirm that the provider can inspect the relevant pipe system and explain the test scope before booking.
After tiling, if leakage is suspected
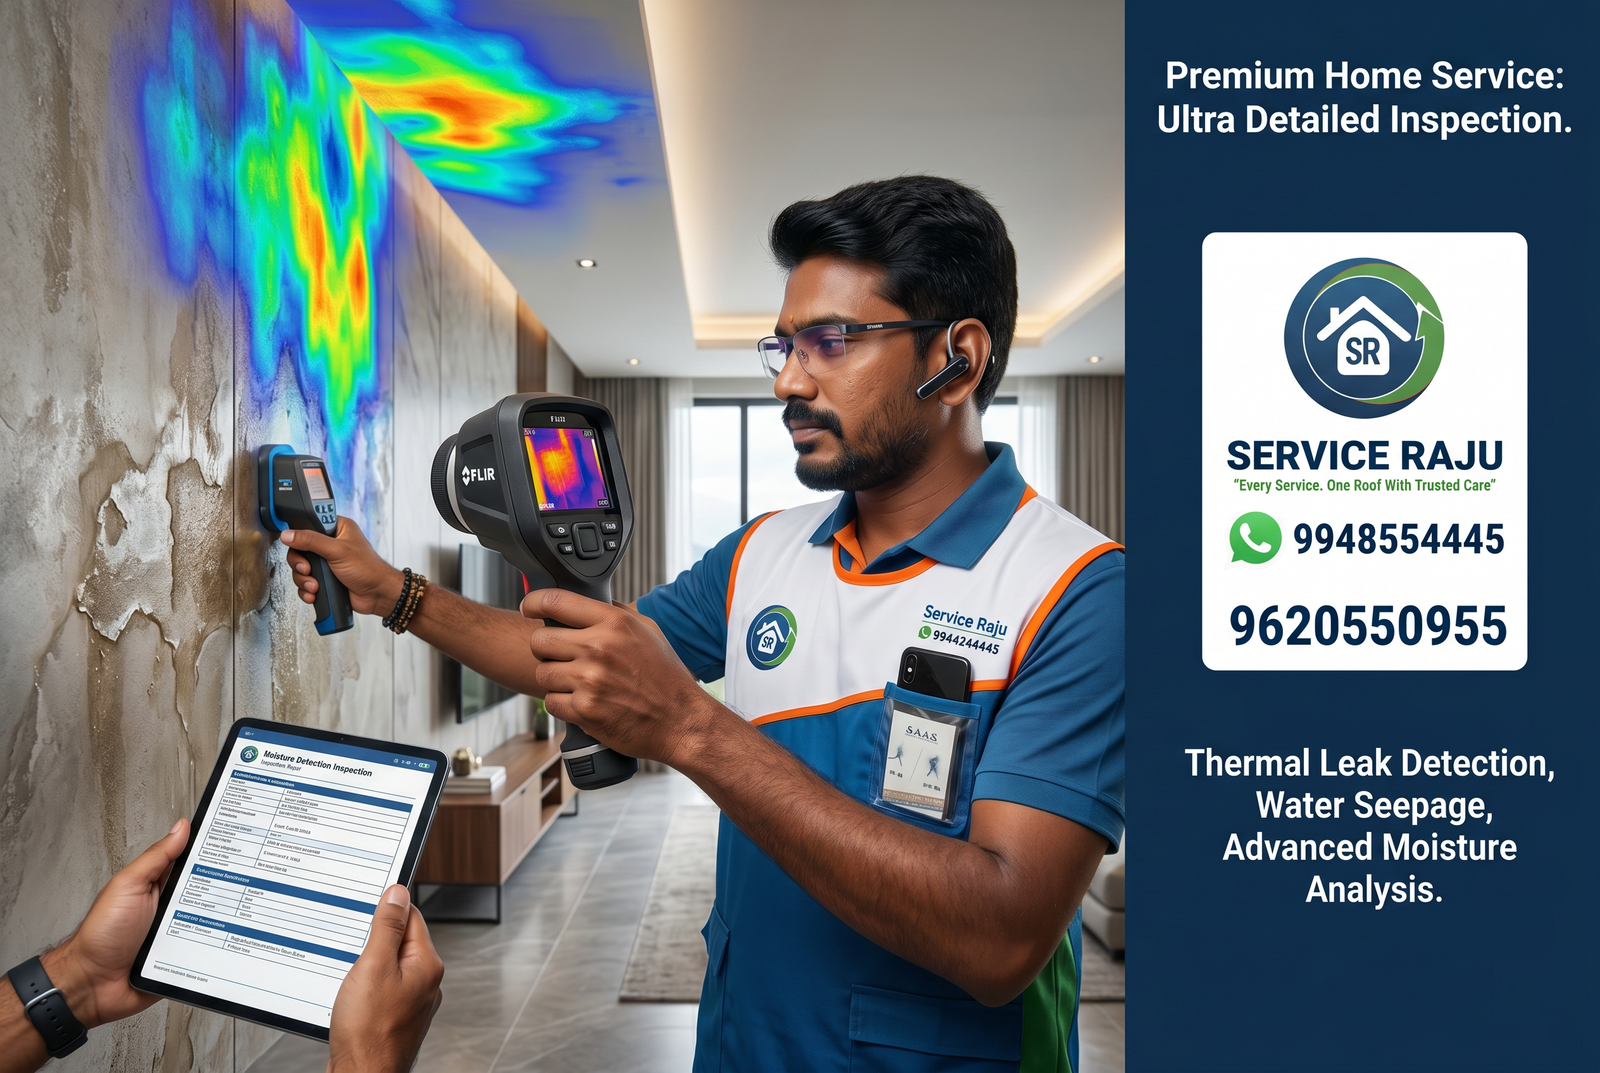
If dampness, staining, unexplained water loss or recurring moisture appears after the bathroom is finished, the problem may require a different diagnostic approach. Depending on the symptoms, a professional may consider plumbing inspection, suitable pressure assessment, moisture-meter readings or thermal imaging.
Thermal imaging and moisture readings can help investigate moisture-related symptoms, but they are not substitutes for the prescribed pressure test of newly installed CPVC pipework. The correct diagnostic method depends on the suspected source and site conditions.
Water leakage detection in Mysore with Service Raju
Service Raju lists leak detection and repair among its plumbing and drainage services in Mysuru. Its advanced thermal water-leakage package describes hydro-pressure testing, thermal leak scanning, moisture-meter analysis and non-destructive diagnosis.
Those published details describe a leakage-detection service; they do not by themselves confirm that every booking includes pre-tiling acceptance testing for a newly installed CPVC system. Before booking, explain that the pipes are newly installed and still exposed, and ask whether the team can perform the specific inspection or test required for your CPVC product and project.
Explore Service Raju services in Mysuru or review the Plumbing & Drainage Services page to discuss the available inspection options.
Frequently Asked Questions About CPVC Pipe Pressure Testing
1. Should CPVC pipes be tested before bathroom tiling?
Newly installed concealed plumbing should be inspected and tested as required by the pipe-system instructions and project requirements before it is covered. This helps identify possible defects while the pipework remains accessible.
2. What pressure should be used for CPVC pressure testing?
There is no universal value for every CPVC system. Use the pressure specified by the actual pipe and fitting manufacturer, system design and applicable project requirements. Do not copy a test value from another application.
3. How long should CPVC joints cure before testing?
Curing time depends on the solvent cement and CPVC system, pipe size, temperature, humidity and test conditions. Follow the relevant product instructions and do not pressurise the system before the required cure time.
4. Can a pressure test find the exact location of a concealed leak?
Not necessarily. A test can indicate that the tested section may not meet the required criteria, but pressure behaviour alone does not identify the precise fault location. Further inspection may be needed.
5. Does a successful pressure test mean every joint was installed correctly?
No. A passing test is useful evidence about the tested section under those conditions, but it does not replace visual checks of joint preparation, solvent cementing, pipe condition and installation requirements.
6. Is thermal imaging the same as CPVC pressure testing?
No. Thermal imaging detects surface temperature patterns that may help investigate moisture or leakage symptoms. A prescribed pressure test assesses the plumbing system under specified test conditions. They serve different diagnostic purposes.
7. What should I do if the test pressure drops?
Do not assume the exact leak location from the reading alone. Have the test setup and pipework checked, investigate the cause, correct any fault and repeat the required test according to the approved procedure.
8. Can I pressure-test CPVC with compressed air?
Do not substitute compressed air or gas for a required hydrostatic test. Pressurised gas can store substantial energy and create serious hazards if a pipe or fitting fails. Follow the system's approved testing method and safety precautions.
9. Should I keep photographs of concealed pipes?
Yes. Clear photographs of pipe routes and accessible joints before tiling can be useful for future maintenance, renovation planning and handover records.
10. Can Service Raju inspect newly installed CPVC pipes before tiling?
Service Raju lists leakage detection and related plumbing services in Mysuru, but confirm the specific pre-tiling CPVC inspection or acceptance-test capability before booking. Share the pipe brand, installation stage and the test requirements you need fulfilled.
Conclusion: Check Concealed Plumbing Before It Is Covered
Before bathroom tiling begins, make sure the concealed CPVC pipework has been visually inspected and tested using the procedure required for the installed system. Check accessible joints, allow the required curing time, document the observations and investigate any abnormal result before the pipes are hidden.
A careful pre-tiling check can help catch installation problems while repairs are still accessible. If you need help investigating suspected leakage in Mysore, contact a suitable plumbing or leakage-detection provider and confirm the exact inspection scope before booking.
Explore Service Raju Water Leakage Detection and Plumbing Services in Mysuru
Technical References
- FlowGuard Plus: CPVC piping-system installation guidance
- FlowGuard: Pipe and fittings installation guide
- FlowGuard Gold: Step-by-step installation instructions
- Service Raju: Plumbing and drainage services in Mysuru
- Service Raju: Services in Mysuru
Technical note: The linked CPVC resources are examples of manufacturer guidance. Use the instructions for the exact brand and system installed at the property, together with applicable project requirements.
 AC Repair
 Ant Control Service
 Basin & Sink Services
 Bath & Shower Services
 Bath Fittings & Mirrors
 Bathroom Cleaning Service
 Bathroom Renovation Services
 Bed Bug Control Services
 Bedroom Painting
 Book a Carpenter Consultation
 Book Electrical Consulting
 Cabinet Painting & Wood Refinishing
 Chimney Cleaning
 Civil Masonry Work
 Clean-Up Services
 Clothes Hanger Installation
 Cockroach Control Services
 Commercial Cleaning
 Commercial Pest Control AMC Service
 Cupboard & Drawer Services
 Decorative Wall Panels
 Deep Sanitisation Service
 Detan & Bleach
 Door, Grill & Cabinet Painting Service
 Doorbell & security
 Drain Blockage Clearing
 Electrical Appliance Services
 Electrical Wiring Services
 Empty Home Deep Cleaning
 Fabrication
 Facials
 Fan Installation & Repair
 Full Home Cleaning Service
 Full Home Renovation
 Furniture Repair Service
 Gas Stove & Hob Repair
 General Pest Control Services
 General Plumbing & Consultation
 Geyser Repair
 Glass Cleaning
 Head Massage
 Honeybee & Wasp-Services
 Kitchen & Bathroom Painting Service
 Kitchen Cleaning
 Kitchen Fittings
 Kitchen Renovation
 Laptop/Desktop service
 Leak Detection and Repair
 LED TV Repair
 Living and Dining Room Painting
 Makeup, Saree & Styling
 Manicure & Pedicure
 MCB,Meter & Fuse Services
 Microwave Repair
 Mosquito Pest Control Service
 Multi-Room Painting Service
 Painting Consultation
 Quick Mini Cleaning Services
 Refrigerator Repair
 RO Water Purifier
 Rodent Control Services (Rat & Mice Treatment)
 Rooms Cleaning
 Shelves & Decor
 Sofa, Carpet & Mattress Cleaning
 Solar Water Heater Service
 Sump & Tank Cleaning
 Switch & Socket Services
 Tap & Mixer Service
 Termite-Control-Services
 Threading & Face Wax
 Tile & Granite Installation & Polishing
 Toilet & Commode Services
 UPS and Inverter Repair Services
 Wall Painting Service
 Washing Machine Repair
 Water Level Controllers
 Water Tank and Pump Repair
 Waterproofing
 Waterproofing Services
 Waxing
 Window & Curtain Services
 Wooden Door Services